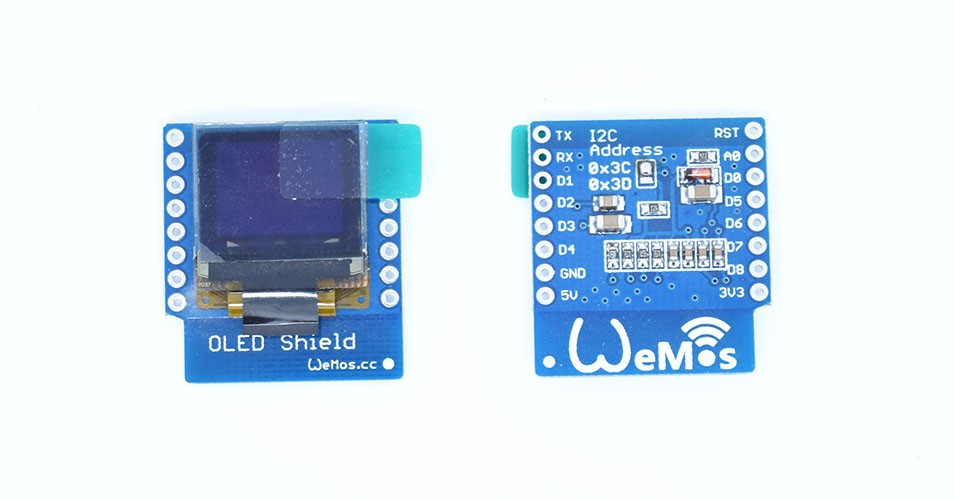
In this example we look at another terrific little low cost shield for the Wemos mini, this time its the OLED shield. In this case we will get this working with the MH ET LIVE ESP32 MINI KIT
Lets look at the shield and some specs
- Screen Size: 64×48 pixels (0.66” Across)
- Operating Voltage: 3.3V
- Driver IC: SSD1306
- Interface: IIC(I2C)
- IIC Address: 0x3C or 0x3D
The shield uses the I2C pins, so you can still connect another I2C device (if it uses a different address) and the other pins are available
| D1 mini | Shield |
| D1 | SCL |
| D2 | SDA |
Code
You will need to add the https://github.com/sparkfun/SparkFun_Micro_OLED_Arduino_Library
The following code example is a simple hello world type example
[cpp]
#include <Wire.h> // Include Wire if you're using I2C
#include <SFE_MicroOLED.h> // Include the SFE_MicroOLED library
#define PIN_RESET 255 //
#define DC_JUMPER 0 // I2C Addres: 0 – 0x3C, 1 – 0x3D
MicroOLED oled(PIN_RESET, DC_JUMPER); // Example I2C declaration
// I2C is great, but will result in a much slower update rate. The
// slower framerate may be a worthwhile tradeoff, if you need more
// pins, though.
void setup()
{
// These three lines of code are all you need to initialize the
// OLED and print the splash screen.
// Before you can start using the OLED, call begin() to init
// all of the pins and configure the OLED.
oled.begin();
// clear(ALL) will clear out the OLED's graphic memory.
// clear(PAGE) will clear the Arduino's display buffer.
oled.clear(ALL); // Clear the display's memory (gets rid of artifacts)
oled.clear(PAGE);
// To actually draw anything on the display, you must call the
// display() function.
oled.display();
oled.clear(ALL);
oled.clear(PAGE);
oled.setFontType(0);
oled.println(“Hello, world!”);
oled.display();
}
void loop()
{
}
[/cpp]
There are a couple of other interesting examples when you install the library to look at
Links

